How to update due dates in Blackboard
You may have noticed the familiar Set Grade Center Due Dates tool has not been available recently. This handy tool has become incompatible with the current version of Blackboard. While we hope that it can return in the future, there is another way to edit all of your due dates at one time.
In addition to providing a printable class schedule, setting your Blackboard Grade Center due dates each semester is important for helping students be successful in your course. This shouldn’t be a time-consuming process though, and the Date Management tool makes it pretty easy to transition all your dates quickly and even has some additional functionality that other methods lack. Follow the instructions below or watch this video tutorial on using the Date Management tool.
Step 1:
Find the Date Management tool in your Blackboard > Control Panel > Course Tools menu. If you do not see the link to Date Management, enable it via Control Panel > Customization > Tool Availability panel.
Step 2:
Select the option for date updates that you want. You have the option to automatically adjust the dates based on the semester start date, move them ahead by a specific number of days or adjust each due date individually.
Option 1: If using the Course Start Date option, enter the date the new semester is set to begin in the New field and hit enter. All dates will automatically adjust to match previous dates in the previous date sequence based on the new date. So if your course was copied from last summer, you could change the new start date to 5/20/2019 and all of your assessments will automatically move forward one year, based on how you set them up originally.
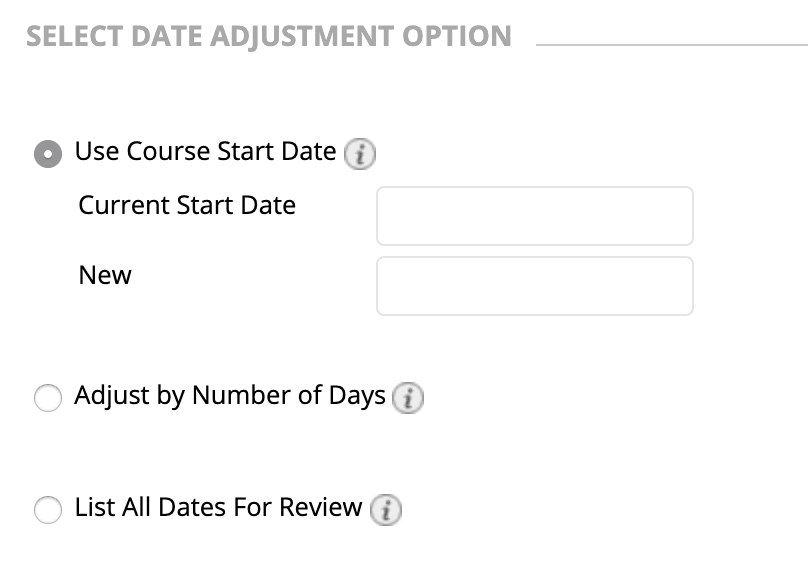
Option 1 – Use Course Start Date
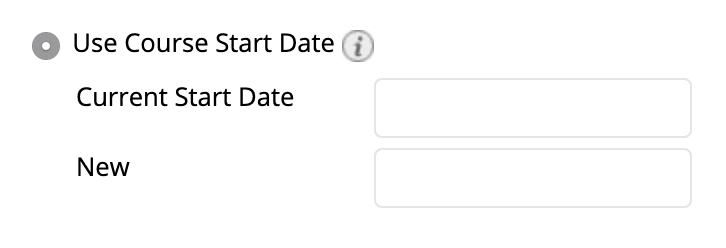
If using the Course Start Date option, enter the date the new semester is set to begin in the New start date field and hit enter. All dates will automatically adjust to match previous dates in the previous date sequence based on the new date. So if your course was copied from last summer, you could change the new start date to 5/20/2019 and all of your assessments will automatically move forward one year, based on how you set them up originally.
Option 2 – Adjust by Number of Days
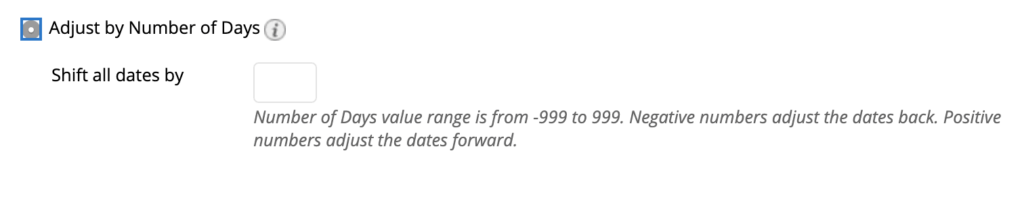
If you choose the Adjust by Number of Days option, you can shift all dates in sequence a specific number of days. Note that negative numbers will adjust the dates backwards. For example, if you shift all dates by 30 days, an assignment previously due on May 1, 2019 will now be due on May 31, 2019.
Option 3 – List All Dates for Review
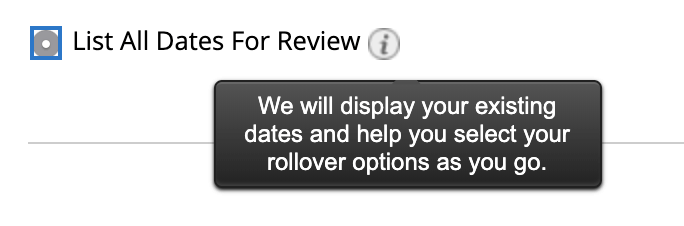
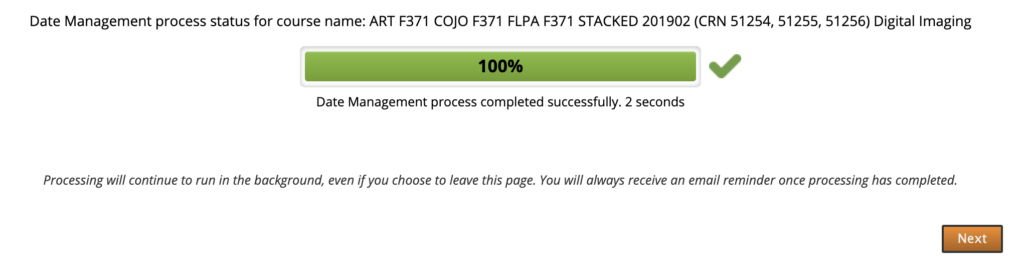
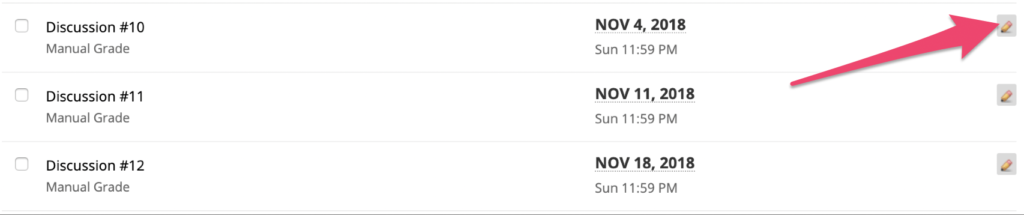


If you choose the List All Dates for Review option, you will be presented with all of your assessment items and by clicking on the right-side arrow corresponding to the item, you will be able to edit them individually. When you select this option, wait for the Date Management process to complete and click the ‘Next’ button: You will be presented with your assessments. Click the upper right edit icon: Edit your due date and click the green checkmark update button: Once updated, the item will reflect that it has been updated in yellow: Alternately, on this option, you can edit multiple dates at once to move forward or backward by the desired number of days:
More Information & Help
You can watch this video tutorial on using the Data Management tool and if you need further assistance or have questions, please don’t hesitate to contact us or come to one of our Open Lab sessions.